
Collecting rainwater is one of the easiest and most rewarding ways to make your home more sustainable. Instead of letting stormwater wash away into drains, you can store it for watering plants, cleaning outdoor surfaces, or even supplying non-drinking systems. For many parts of the United States, rainwater harvesting also helps ease pressure on local water systems. With a few basic tools and a bit of planning, anyone can build a simple system that saves both water and money.
Step 1: Understand the Basics of Rainwater Harvesting
Rainwater harvesting is simply the process of collecting rainfall from surfaces—typically your roof—and storing it for later use. Most systems follow the same pattern: water flows from the roof into gutters, passes through a filter or screen, and then fills a storage container such as a barrel or tank.
Before you begin, check your local regulations. Some states encourage rainwater collection, while others have specific rules about how it can be used. It’s also important to use a clean, non-toxic container designed for outdoor water storage to prevent contamination.
Step 2: Choose a Suitable Collection Area
Your roof is the best place to capture rainwater because it already channels water through gutters. Metal, tile, and asphalt shingle roofs generally work well, but avoid collecting from roofs coated with lead-based paint or treated wood shingles.
Identify a downspout that’s easy to reach and near where you’d like to place your storage barrel. If your roof has multiple downspouts, you can start with one to test your setup and expand later. Make sure the area around the downspout is level and can support the weight of a full container.
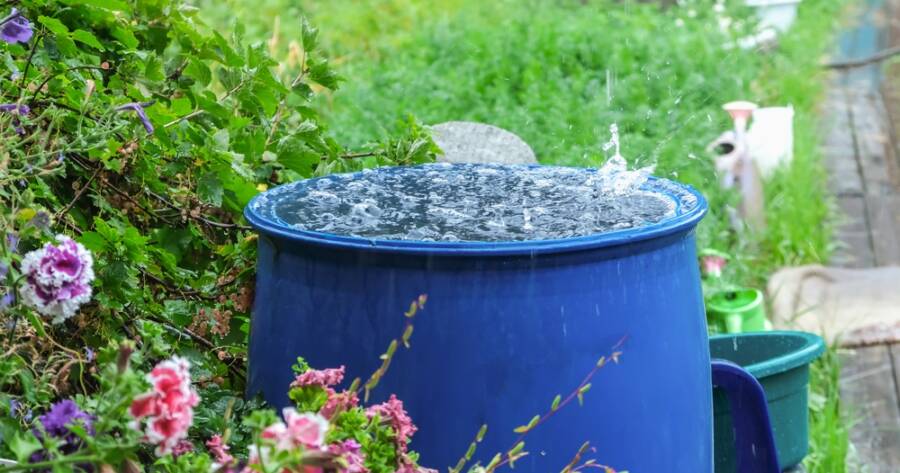
Step 3: Set Up the Storage Container
A basic rain barrel is perfect for beginners. Look for a durable, food-grade barrel made of UV-resistant plastic. It should include a secure lid or screen to keep out debris and mosquitoes. The barrel sits beneath your downspout, which you can shorten or redirect using a flexible elbow connector.
To make watering easier, raise the barrel slightly by placing it on concrete blocks or a wooden platform. This allows you to use gravity to draw water through a spigot or connect it to a garden hose.
Optional upgrades:
- Add a fine mesh filter where the downspout meets the barrel to catch leaves.
- Install an overflow outlet so excess water can safely drain away during heavy rainfall.
Step 4: Create a First-Flush System for Cleaner Water
The first rain that hits your roof often carries dust, pollen, and small debris. A “first-flush diverter” helps route this initial runoff away from your main container. This can be as simple as a vertical pipe with a ball or valve that automatically closes once it fills.
By discarding that first small amount of rainwater, you’ll keep your stored water cleaner and reduce the chance of clogs or odors. While not required, this step is especially helpful if you plan to use the water for garden beds or indoor plants.
Step 5: Maintain and Use Your System
Maintenance is straightforward but important. Check your gutters and screens regularly to remove leaves or buildup. Clean the barrel every few months with a mild vinegar solution or biodegradable soap, especially before rainy seasons begin.
Use the collected water for outdoor plants, lawn care, or washing patios and vehicles. In many climates, a single rainstorm can fill a standard barrel, offering days or even weeks of irrigation water. Remember that rainwater collected from rooftops is generally not suitable for drinking unless filtered and treated by a certified system.
Step 6: Expand Over Time
Once your first barrel is working smoothly, you can expand by connecting multiple barrels with simple linking hoses or PVC pipes. Larger systems can include underground tanks, pumps, and filters for more advanced use. You might even install drip irrigation lines that draw directly from your storage tanks.
For most homeowners, though, a single rain barrel provides a good balance of simplicity and savings. It’s easy to set up, requires minimal upkeep, and pays off each time you use water that didn’t come from your tap.
Small Effort, Lasting Impact
Building a DIY rainwater harvesting system is a practical project that combines conservation with everyday usefulness. Once installed, it quietly collects water whenever it rains, turning an overlooked resource into something valuable.
Whether you live in a dry climate where every drop counts or simply want to lower your water bill, this project delivers lasting benefits. With a weekend of work and basic materials, you’ll have a reliable, low-maintenance system that makes your home more sustainable year after year.